
How To
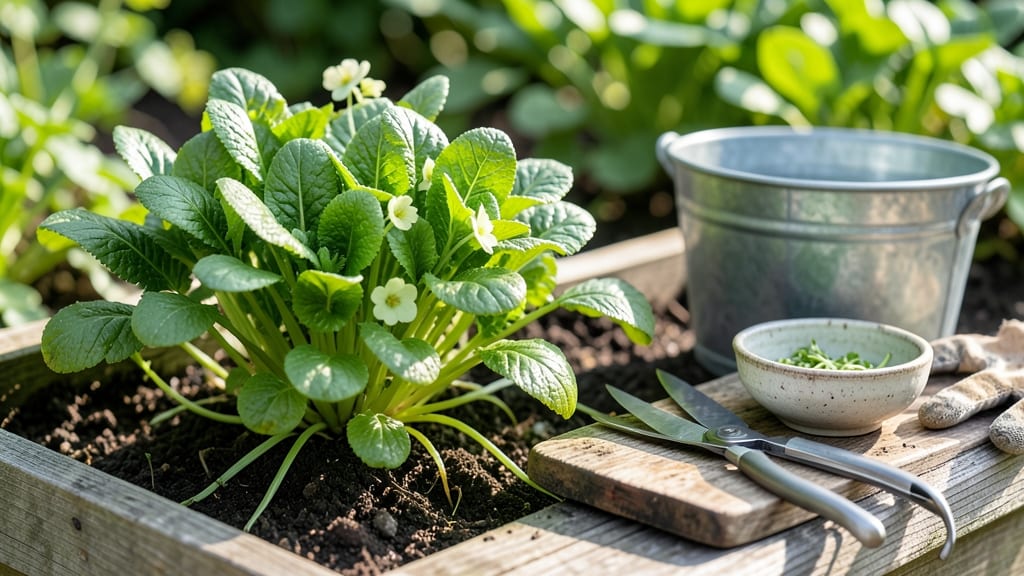
Harvesting watercress at the right time transforms this 🌿 nutrient-packed green from a mild side dish into a bold, peppery flavor powerhouse. Whether you're growing it in a shallow pond or garden bed, timing your harvest is the secret to tender leaves and continuous regrowth.
Most gardeners make one critical mistake: waiting too long before picking. Overgrowth leads to tough, bitter stems and wasted flavor. I’ll show you exactly when to harvest—before flowering—and how to do it without harming your plants for future harvests.
You’ll also discover the best tools to use, whether you’re harvesting from water or soil, and how to store your fresh watercress for maximum freshness. Plus, I’ll share practical tips for using your harvest in salads, sandwiches, or even medicinal remedies.
Ready to turn your watercress patch into a year-round harvest? Let’s dive into the step-by-step guide that ensures every pick is flavorful and sustainable.


Best time to harvest watercress for peak flavor and growth
Harvesting watercress at the right moment transforms it from a mild, tender green to a bitter, woody mess. The key is timing—aim for young leaves between 2-4 inches long, when they’re still vibrant and crisp.
This window typically opens 30-45 days after planting, but continuous harvesting every 2-3 weeks keeps your plants producing flavorful shoots all season.
Watercress thrives in cool weather, so your best harvest windows are spring and early fall. In my Zone 6a garden, I start harvesting in late April and continue until early October, avoiding the heat of summer when leaves can turn bitter.
If you’re growing watercress in shallow water, monitor growth more closely—water temperatures above 75°F can stunt development.
Look for these visual cues to know when to harvest: bright green, glossy leaves with crisp stems and no signs of yellowing or flowering. Overgrown watercress (leaves >4 inches) develops a peppery, almost spicy flavor, which some chefs love—but for home gardeners, smaller leaves mean milder, sweeter taste.
I always harvest on cloudy mornings to avoid wilting in the sun.
Frequent harvesting actually encourages regrowth. By pinching back outer leaves rather than cutting stems, you signal the plant to produce more tender shoots. This method works for both in-water and soil-grown watercress.
Just leave the central crown intact—this ensures your plants keep producing for months, not weeks.
Seasonal timing matters too. In spring, watercress grows quickly, so I harvest every 2 weeks to prevent bolting. By late summer, growth slows, and I switch to harvesting every 3-4 weeks.
If your plants start flowering, it’s a sign to harvest immediately—flowering marks the end of their productive cycle.
Pro tip: If you’re growing watercress in a pond or stream, check for algae or debris before harvesting. Rinse leaves thoroughly under cool water to remove any grit or pests.
I use a fine-mesh strainer to clean batches quickly—it’s a game-changer for keeping your harvest fresh and safe to eat.
Overharvesting can stress your plants, so never take more than 1/3 of the plant at once. For example, if your watercress patch is 1 foot wide, harvest only the outer 4 inches of leaves.
This balance keeps your plants healthy and ensures a steady supply of fresh greens all season long.
Finally, watch for seasonal pests like aphids or slugs, which can damage tender leaves. If you spot issues, harvest affected leaves immediately and treat the plant with neem oil or diatomaceous earth.
A healthy plant will bounce back faster after a light harvest, so don’t skip this step—your future harvests depend on it!
With the right timing, your watercress will reward you with vibrant, peppery flavor and continuous regrowth. Now that you know when to harvest, let’s dive into the step-by-step method to pick watercress without damaging your plants—coming next!
Step-by-step guide to harvesting watercress without damaging plants
Harvesting watercress properly ensures your plants stay healthy and keep producing those peppery, nutrient-rich leaves you love. The key is to use the right technique—whether you're harvesting from water or soil—and avoid cutting stems completely.
This method preserves the plant's ability to regrow, giving you a continuous harvest all season long.
Start by gathering a few simple tools: a sharp pair of pruning shears or clean scissors, a small bowl for collecting leaves, and—if harvesting in water—wear gloves for grip and rubber boots for safety.
Work on a dry, sunny morning when leaves are crisp and free of dew, making them easier to handle.
How to Harvest Watercress Safely
- Step 1: Locate the youngest, outermost leaves—these are the most tender and flavorful. Avoid harvesting from the center where new growth emerges.
- Step 2: Use your fingers to gently pinch off individual leaves or small clusters at the base. Never cut more than one-third of the plant at a time.
- Step 3: For water-grown varieties, hold leaves firmly near the base and twist gently to detach them cleanly. Avoid tugging hard to prevent uprooting.
- Step 4: Rinse harvested leaves immediately in cool, clean water to remove dirt or debris. Pat dry with a paper towel to prevent rot.
- Step 5: After harvesting, trim any yellow or damaged leaves to encourage healthier regrowth. Water the plant thoroughly to support recovery.
If you're harvesting from a pond or stream, take extra care to avoid disturbing the water's ecosystem. Use a net with fine mesh to gather floating leaves without touching the sediment, which can harbor harmful bacteria. Always harvest from areas where watercress is abundant to avoid depleting local populations.
For soil-grown watercress, focus on harvesting from the outer edges of the plant first. This encourages the plant to fill out and produces a bushier, more productive harvest over time.
If you notice thick, woody stems, it’s a sign you’ve waited too long—harvest more frequently next time to keep leaves tender.
Pro tip: Leave at least one-third of the plant intact after each harvest. This ensures the roots stay strong and the plant can regenerate quickly. With proper care, a single watercress plant can provide continuous harvests for months, making it one of the most rewarding greens to grow.
Store harvested watercress in a sealed container with a damp paper towel in the fridge for up to 5-7 days. For longer storage, blanch leaves in boiling water for 30 seconds, then freeze in an airtight bag.
This preserves their vibrant color and crisp texture for later use in salads, sandwiches, or smoothies.