
Companion Plants
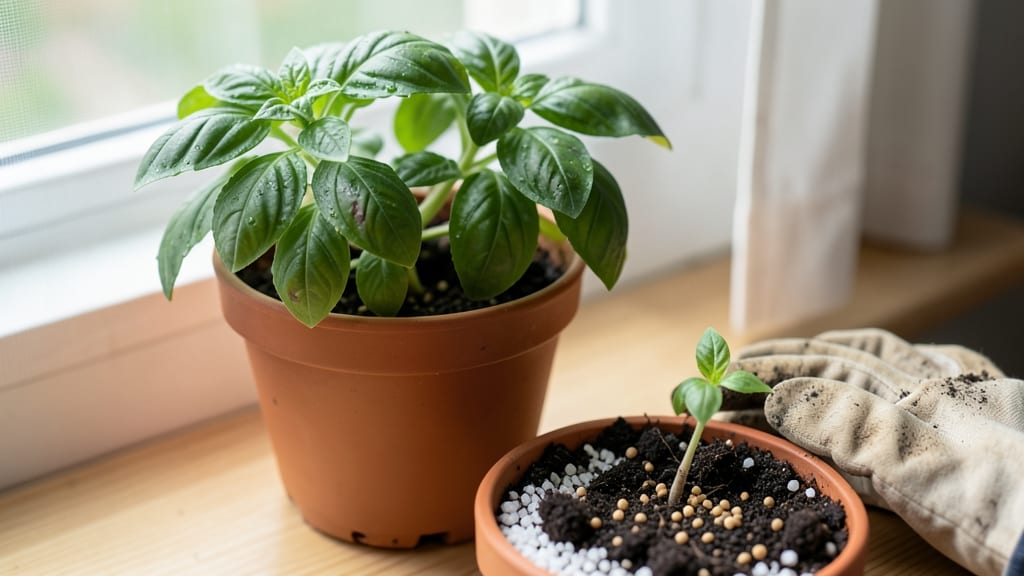
Filling a pot wrong can mean root rot before your plant even sprouts. 🌱 I’ve ruined more plants than I’ll admit by ignoring drainage—until I learned this foolproof layering system that keeps roots happy and soil balanced. The secret isn’t just soil; it’s the order of what goes in first.
Start with drainage holes (non-negotiable), then a 1-inch layer of gravel or broken pottery—this prevents clogging while letting excess water escape. Next comes a lightweight potting mix (avoid garden soil; it compacts).
For succulents, blend in perlite; for herbs, add compost. The top 1/4 inch of soil should stay loose to wick moisture away from stems.
You’ll notice plants thrive longer because roots breathe, and water drains without pooling. Overpacking soil? That’s how you trap moisture. Succulents need fast-draining layers; herbs tolerate slightly richer mixes. The key is adjusting the ratio of grit to soil based on your plant’s thirst level.
This method works for any container size—from tiny windowsill pots to 5-gallon grow bags. The only mistake I make now is forgetting to check drainage holes before filling. Once you see how roots spread in well-layered pots, you’ll never go back to dump-and-pray soil prep again.
📚 In This Guide
- What you need
- Instructions
- Tips and common mistakes
- Wrapping up and next steps
What you need
- ● Pot with drainage holes – Choose one that’s at least 2-3 inches larger in diameter than your plant’s root ball. Terracotta, ceramic, or plastic work well (just ensure those holes are there!).
- ● Drainage layer (gravel, pebbles, or shards) – 1-2 inches of coarse material like: Pebbles (¼–½ inch diameter)
- ● Lava rock
- ● Ceramic pot shards (broken-up pieces)
- ● Perlite or pumice (for lightweight options)
- ○ Moisture-retentive layer – 1-2 inches of: Horticultural charcoal (optional but highly recommended for odor/fungus control)
- ● Or a thin layer of sand or coarse bark (if charcoal isn’t available)
- ● Potting soil – High-quality, well-draining mix (avoid garden soil—it compacts!). Use 2-3 inches as a base before adding your plant.
- ● Plant (with intact root ball) – Ensure roots aren’t circling or damaged!
- ● Gloves – Protect your hands from sharp pebbles or soil.
- ● Trowel or small shovel – For easy layering and soil adjustments.
- ● Spray bottle – Lightly mist the drainage layer to settle it before adding soil.
- ○ Mulch (optional) – Top with orchid bark or coconut coir to retain moisture and deter weeds.
- ● Pot saucer or tray – Catch excess water and keep surfaces clean.
- ● Watering can with a fine rose – Prevents soil erosion during watering.
Step-by-Step instructions for creating a healthy pot setup
Here's my foolproof method for building pots that keep roots thriving—not drowning.
🪴 Step 1: Select a Pot With Proper Drainage
Start with a container that has at least 3-4 drainage holes—most root rot happens because water pools at the bottom. Terra cotta pots are my favorite because they breathe, but plastic works too if you add extra drainage layers. Avoid cache pots or decorative outer shells unless they're designed to lift off for watering.
If your pot lacks holes, drill ¼-inch holes along the bottom edge using a power drill and masonry bit. Space them 2-3 inches apart—this ensures water exits efficiently without soil washing out. Line the bottom with a 1-inch layer of broken pottery shards (or mesh screen) to prevent soil from clogging the holes.
💧 Step 2: Build the Drainage Layer
Place 1-2 inches of coarse gravel or lava rock over the drainage holes. This layer prevents soil from blocking the holes while allowing excess water to escape quickly. I like ¼-inch to ½-inch diameter stones because they create air pockets that roots appreciate. Avoid fine pebbles—they compact over time and reduce drainage.
Next, add ½ inch of perlite or pumice on top of the gravel. These lightweight materials create additional air space and wick away moisture from the roots. This step is critical for plants like ferns, calatheas, or tropicals that despise soggy conditions. Press lightly to settle, but don’t compact—you want the layer to stay loose for years.
🌱 Step 3: Add a Moisture-Control Layer
Spread 1-2 inches of orchid bark or horticultural charcoal over the perlite. This layer absorbs excess moisture while allowing air circulation. Orchid bark breaks down slowly, adding organic matter to the soil over time. For containers with fast-draining mixes (like cacti or succulents), skip this step—you’ll rely more on the perlite alone.
If you’re planting moisture-sensitive species (like snake plants or jade), add a thin layer of sphagnum moss on top. This helps regulate humidity at the root zone without trapping water. For most plants, though, the bark or charcoal suffices. Press lightly to create a stable base before adding soil.
✂️ Step 4: Fill With Potting Mix
Add 2-3 inches of high-quality potting mix on top of your drainage layers. Use a well-draining blend (never garden soil—it compacts and suffocates roots). I like mixes labeled for your specific plant type, like "African Violet Mix" or "Succulent Soil." For general use, a 50/50 blend of peat moss and perlite works wonders.
Fill the pot to 1 inch below the rim—this prevents soil from spilling when watering. Tap the container gently on the table to settle the mix without compacting it. The goal is a fluffy, aerated base that roots can explore freely. For larger pots, divide the soil into layers and press lightly between each addition to prevent air pockets.
🌿 Step 5: Plant and Water In
Remove your plant from its nursery pot and gently loosen the roots if they’re circling. Place it in the center of the prepared pot, ensuring the top of the root ball sits just below the soil line. Fill the remaining space with more potting mix, pressing lightly to eliminate gaps. Water immediately to help the soil settle around the roots.
Use room-temperature water and water until it flows freely from the drainage holes. This step flushes out excess salts and ensures the soil makes full contact with the roots. Afterwatering, let the pot drain completely—never leave it sitting in a saucer of water. For the first few waterings, check the moisture level 24 hours later to adjust your schedule.
Tips & tricks for perfect plant pot setup
These layered drainage secrets will keep your plants thriving without the risk of root rot—no guesswork required.
Drainage Hole Precision: When drilling holes in Step 1, use a pencil to mark your 2-3 inch spacing along the bottom edge before drilling. This ensures even water distribution and prevents soil from washing out through uneven gaps. I always test the first hole by pouring water through—if it drains too quickly, reduce hole size slightly. The goal is a steady flow, not a waterfall.
Material Selection Tip: For Step 2, avoid river rocks or smooth pebbles—they don't create enough air pockets. Instead, opt for irregular-shaped lava rock or coarse gravel (¼-inch to ½-inch diameter). The rough texture creates micro-channels that improve drainage while preventing compaction over time. Pro tip: Rinse your stones before using to remove any dust or debris that could clog the drainage system.
Layer Order Matters: In Step 3, always place orchid bark or charcoal above the perlite—not below. The bark/charcoal layer acts like a moisture buffer, absorbing excess water before it reaches the roots. For moisture-sensitive plants like snake plants, add that thin sphagnum moss layer only after the bark/charcoal. This creates a gradual moisture transition that mimics natural conditions.
Soil Settling Strategy: When filling with potting mix in Step 4, divide the 2-3 inches into two layers. Add the first inch, tap gently to settle, then add the second inch. This prevents air pockets that could trap water against the roots. For larger pots, use a long-handled spoon to poke small holes through the soil—this creates additional drainage channels without disturbing the structure.
Pro Tips for Fill A Pot For Plants
- These layered drainage secrets will keep your plants thriving without the risk of root rot—no guesswork required.
- Drainage Hole Precision: When drilling holes in Step 1, use a pencil to mark your 2-3 inch spacing along the bottom e...
- Material Selection Tip: For Step 2, avoid river rocks or smooth pebbles—they don't create enough air pockets. Instead...
Frequently asked questions
Got questions about filling pots the right way? You’re not alone!
Here are answers to the most common concerns—so you can keep your plants thriving without the guesswork.
What’s the best order for layers in a pot?
Start with drainage holes (if your pot doesn’t have them, drill them!). Then add a 1–2 inch layer of gravel or broken pottery (for aeration), followed by a 1-inch layer of charcoal or perlite (to prevent odors and rot), and top with potting mix. Think of it like a sandwich—each layer has a job!
How often should I refill or adjust the layers?
Only adjust layers if you notice compaction (potting mix sinking) or root rot (smelly, mushy soil). For most plants, a yearly refresh of the top 2–3 inches of soil is enough. If you repot, reuse the gravel/charcoal layers unless they’re contaminated (e.g., moldy or crumbling).
Can I skip the gravel layer if my pot has great drainage?
You can, but it’s not ideal. Gravel or broken pottery creates air pockets and prevents soil from clogging drainage holes. Without it, water can pool at the bottom, even in pots with holes. For succulents or cacti, a thin layer (½ inch) is enough—but most plants benefit from the full 1–2 inches.
What if my plant’s roots are already rotting?
Act fast! Remove the plant, trim away black/mushy roots with sterilized scissors, and repot with fresh potting mix and a new drainage layer. Water lightly for a week to let roots recover. For severe cases, add fungicide to the soil. Prevention is key—always check moisture levels with your finger before watering!
Are there affordable alternatives to fancy drainage materials?
Use:
- Pebbles or smooth river rocks (from hardware stores or nature)
- Crushed eggshells (sterilized in the oven) for calcium-loving plants
- Old terracotta shards (save broken pots—great for aeration!)
- Coffee grounds (in small amounts, for acid-loving plants like blueberries)
Wrapping up and next steps
Filling a pot the right way is your first step toward thriving plants and a root-rot-free garden! 🌱 By mastering layered drainage—starting with broken pottery or gravel, adding a mix of perlite and potting soil, and finishing with your chosen plant—you’re setting up a happy home for your greenery.
Whether you’re a seasoned gardener or just starting, this method keeps roots healthy and your plants flourishing.
Now that you’re equipped with the know-how, grab that pot and get planting! 🌿 Try experimenting with different soil mixes or companion plants to see what works best for your space. Happy gardening!