
Propagation
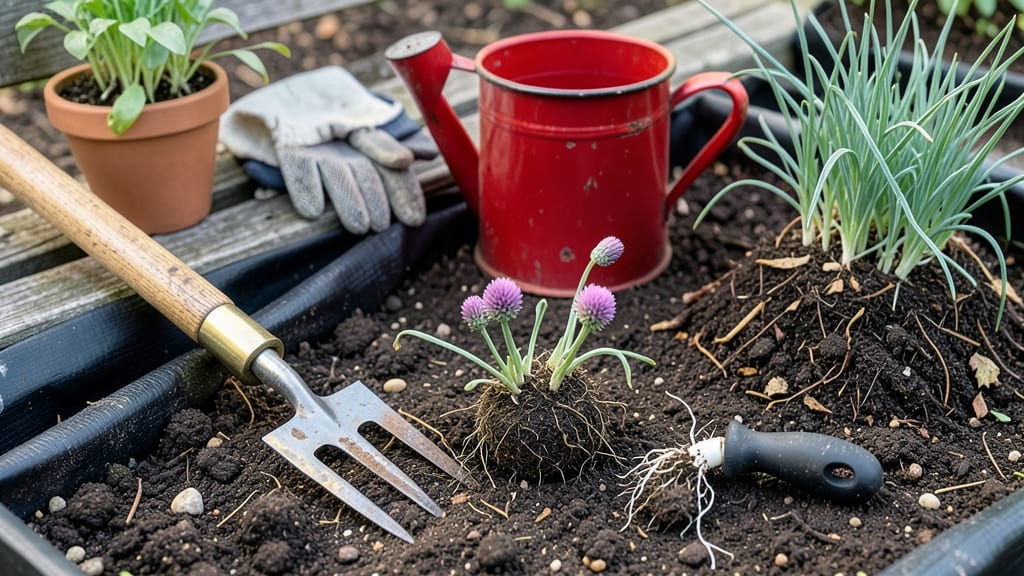
Your chives are begging for a springtime makeover. 🌱 Dividing them isn't just about expanding your harvest—it's the secret to keeping those purple spears lush and productive for years. I've been dividing chives since my first garden, and every time, the plants bounce back stronger than ever.
The best time to tackle this is in early spring or fall, when the weather cooperates but isn't extreme. You'll need a sharp knife, a fork for digging, and some gloves—plus a sunny spot with well-draining soil.
The process takes about 20 minutes, and by summer, you'll have twice as many chives as you started with.
What you end up with is a thriving patch of chives that regrow faster, resist flopping, and produce more scallions than you'll know what to do with. The key is patience: let the divided clumps establish roots before harvesting heavily, and you'll be rewarded with nonstop greens all season long.
Works just as well for container gardens or in-ground beds—just space them 6-8 inches apart for best results. Here's how to do it without a single wilted leaf in sight.
📚 In This Guide
- What you need
- Instructions
- Tips and common mistakes
- Wrapping up and next steps
What you need
- ● Healthy chive clumps: Choose mature plants (at least 1–2 years old) with thick, established roots and multiple shoots. Aim for clumps with 3–5+ stems per division.
- ● Sharp garden shears or pruning scissors: A clean, sterilized pair (7–10 inch blades) to make precise cuts without crushing stems.
- ● Garden trowel or spade: A 5–8 inch stainless-steel or carbon-steel tool for digging—no rusty relics!
- ○ Gloves (optional but recommended): Lightweight gardening gloves to protect your hands from soil and sharp edges.
- ○ Compost or well-aged manure: A 1–2 gallon supply to enrich planting holes (optional but highly encouraged!).
- ● Watering can or hose with a gentle nozzle: For post-division hydration—1–2 gallons per plant is ideal.
- ● Rooting hormone (powder or gel): Speeds up establishment if dividing in late summer/fall.
- ● Mulch (straw or shredded leaves): 1–2 inches to retain moisture and suppress weeds.
- ● Plant labels: Mark varieties (e.g., ‘Garlic Chives,’ ‘Common Chives’) if you’re dividing multiple types.
- ● Disinfectant (rubbing alcohol or bleach solution): To sterilize tools between cuts and prevent disease spread.
Step-by-Step instructions for dividing chives
Here’s my foolproof method for splitting chives—clean cuts, minimal stress, and plants ready to thrive in new spots.
🌱 Step 1: Choose the Right Time for Division
Spring is ideal—when new growth appears but before the plant bolts to flower. You’ll see fresh green shoots pushing through the soil, signaling the plant’s energy is shifting toward regrowth. Avoid dividing in winter or late summer, when chives are either dormant or stressed.
Pick a day with mild temperatures, ideally between 50-70°F. If your climate runs hot, schedule the division for early morning or late afternoon to avoid heat stress. The goal is to minimize shock while giving the roots time to recover before their next growth spurt.
✂️ Step 2: Dig Up the Clump and Separate the Crowns
Use a sharp spade to dig around the entire clump, keeping the root ball intact. Gently lift it out and shake off excess soil to reveal the network of crowns—those thick, fleshy bases where leaves and roots meet. You’ll see 3-5 distinct crowns per clump, each with its own set of roots and shoots.
Don’t pull or tear the crowns apart—use a clean knife or your hands to separate them at the base. Each new division should have 3-4 healthy leaves and a robust root system. If a crown feels sparse or leggy, set it aside for compost; weak divisions won’t recover well.
🪴 Step 3: Prepare New Planting Spots
Choose a location with full sun to partial shade and well-draining soil. Chives tolerate a range of conditions but thrive in loose, fertile ground. Amend the soil with 1-2 inches of compost mixed into the top 6 inches to encourage strong root establishment.
Dig holes slightly wider than the root ball but no deeper. Space new divisions 6-8 inches apart if planting in a row, or 12 inches apart for a fuller look. Water the holes deeply before planting to settle the soil and eliminate air pockets around the roots.
💧 Step 4: Plant and Water for Immediate Recovery
Place each division into its hole, ensuring the crown sits just below soil level—burying it too deep can rot the base, while leaving it exposed risks drying out. Press the soil gently around the roots to remove gaps, then water thoroughly until moisture seeps 2 inches deep.
Mulch with 1-2 inches of straw or shredded leaves to retain moisture and suppress weeds. Avoid heavy mulch, which can smother the crowns. Over the next 7-10 days, keep the soil consistently moist but not soggy—this is critical for root regrowth.
☀️ Step 5: Monitor and Encourage Regrowth
New growth should appear within 2-3 weeks. You’ll notice fresh shoots emerging from the center of the crown, signaling the plant has re-established its root system. If leaves yellow or wilt, it’s a sign of stress—check for overwatering or poor drainage and adjust accordingly.
Once established, divisions will grow just like the mother plant. Harvest lightly after 4-6 weeks to encourage bushier growth, and avoid cutting more than one-third of the foliage at a time. With proper care, your divided chives will reward you with nonstop harvests for years.
Tips & tricks for perfect chive division
Real talk: Dividing chives isn't rocket science, but those little details make all the difference between thriving plants and sad, wilty casualties. Here's what I've learned after dividing my own chives for years—tricks that'll help you avoid common pitfalls and get the best possible results.
Timing is Everything: That 50-70°F temperature range in Step 1 isn't arbitrary—it's when chives are most resilient. I've divided mine in spring when temps were hovering around 65°F and seen perfect regrowth within weeks. If your forecast shows 80°F+ days, schedule your division for early morning when roots are coolest. Morning divisions also give plants time to recover before afternoon heat stress kicks in.
The Technique That Changed Everything: When separating crowns in Step 2, I used to just pull them apart—which often damaged roots. Now I slip a clean, sharp knife between crowns and gently twist while pulling upward. This preserves root integrity while making separation effortless. Pro tip: If you're working with stubborn clumps, soak the root ball in water for 10 minutes first to loosen the soil and make separation easier.
Soil Prep Secret: The 1-2 inches of compost in Step 3 isn't just about nutrients—it's about creating the perfect environment for root regrowth. I like to mix in 1 part compost to 3 parts native soil for best results. For heavier clay soils, add 1/4 cup perlite per hole to improve drainage. The goal is loose, aerated soil that lets roots spread without resistance.
Watering Wisdom: Those 7-10 days of consistent moisture in Step 4 are non-negotiable. I've seen divisions fail when people think "watered once" means "done." Set up a drip irrigation system or use a spray bottle to keep soil evenly moist—never soggy. The key is maintaining that balance where roots can absorb water without sitting in anaerobic conditions. After 10 days, you can gradually reduce watering as new growth appears.
Pro Tips for Divide Chives
- Real talk: Dividing chives isn't rocket science, but those little details make all the difference between thriving pl...
- Timing is Everything: That 50-70°F temperature range in Step 1 isn't arbitrary—it's when chives are most resilient. I...
- The Technique That Changed Everything: When separating crowns in Step 2, I used to just pull them apart—which often d...
Frequently asked questions
When is the best time to divide chives?
The ideal time to divide chives is in early spring (March–April) or early fall (September–October). This gives plants time to establish roots before extreme weather. Avoid dividing in summer heat or winter frost, as stress can weaken new clumps.
How often should I divide my chives?
Divide chives every 2–3 years to maintain vigor. Overcrowded clumps produce fewer leaves and may attract pests. If your chives are thriving but not yet crowded, you can skip division for a year or two—but don’t wait beyond 4 years, or harvests may decline.
Can I divide chives with just a knife instead of digging them up?
Yes! For surface division, use a sharp knife to slice through the base of the plant (about 1–2 inches deep) to separate clumps. This minimizes root disturbance and works well for established plants. Just ensure each section has healthy green shoots and a few roots attached.
What if my chives turn yellow or die after dividing?
Yellowing or wilting can happen if roots are damaged or the plant is stressed. To troubleshoot:
- Water lightly for the first week (overwatering causes rot).
- Plant divisions in well-draining soil and avoid full sun for 3–5 days.
- Fertilize with a balanced 10-10-10 mix 2–3 weeks post-division.
Can I divide chives grown in containers?
Container-grown chives can be divided the same way, but choose a larger pot (at least 12 inches wide) with drainage holes. Gently remove the plant, separate clumps with your hands or a knife, and replant divisions 1–2 inches apart. Use fresh potting mix to prevent disease.
Wrapping up and next steps
Dividing chives is a simple yet rewarding way to expand your garden while ensuring a fresh, endless supply of this versatile herb. By following these steps—using the right tools, timing, and care—you’ll soon enjoy bushier plants and fewer grocery store trips! 🌱✨
Ready to put your new skills to work? Grab those shears and give your chives the love they deserve—your kitchen (and taste buds) will thank you! For even more green-thumb tips, check out our guide on how to propagate herbs like a pro.